 Avitas Home
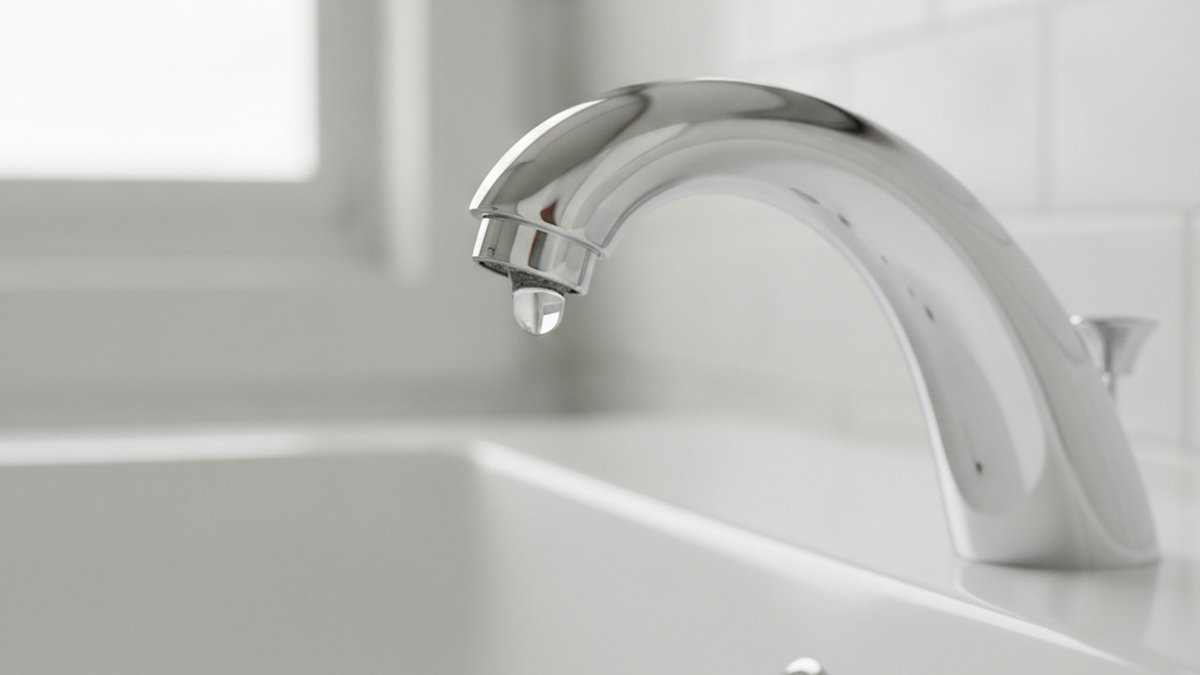
If you’ve been Googling the fix leaky faucet meaning, here’s the plain-English version: a “leaky faucet” isn’t one single problem, and “fixing” it doesn’t mean replacing the whole thing. It means identifying where the water is escaping — the spout, the handle, or the base — and swapping the one small rubber or ceramic part that has worn out inside. Nine times out of ten, that’s it. The faucet body itself is almost never the issue.
People phrase this a hundred ways — “what does it mean when a faucet leaks,” “is a dripping faucet the same as a leaking faucet,” “do I need a plumber to fix a leak” — but they’re all really asking the same thing: what’s actually broken, and can I handle it myself? Let’s answer that clearly, section by section, so you know exactly what you’re dealing with before you touch a wrench.
What does “fix a leaky faucet” actually mean?
It means stopping water from getting past a seal that’s supposed to hold it back. Every faucet has internal seals — a cartridge, rubber washers, O-rings, or a ceramic disc — that open to let water through when you turn the handle and close to shut it off. When one of those seals wears down, cracks, or gets clogged with mineral scale, water sneaks past it. That escaping water is the “leak,” and “fixing” it means replacing the worn seal so the shut-off is watertight again.
So when someone says they “fixed a leaky faucet,” what they usually did was: turn off the water, open up the faucet, pull out one worn part, drop in an identical new part, and reassemble. No soldering, no cutting pipe, no new fixture. The confusion comes from people assuming a leak means the faucet is “dead” — it almost never is. A faucet body made of solid brass can last 20+ years; the seals inside it wear out every few years. That’s the part you replace.
Is a “dripping” faucet the same as a “leaking” faucet?
Not quite — and knowing the difference tells you which part to fix. A drip is water coming out of the spout when the faucet is fully off. A leak is water escaping somewhere it shouldn’t — around the handle, from the base where the faucet meets the sink, or underneath from the supply connections. Both get called “a leaky faucet” in everyday speech, but they point to different failed parts:
- Drips from the spout → worn cartridge, valve washer, or ceramic disc (the shut-off seal failed).
- Leaks around the handle → cracked O-rings or a loose packing nut on the stem.
- Leaks at the base of the spout → worn O-rings where the spout swivels.
- Puddles in the cabinet below → loose supply-line connections or a failed valve seal — this is the one to catch fast.
If you’ve ever dealt with a dripping kitchen faucet, you already know the drip-from-spout scenario — that’s the most common one, and it’s almost always a cartridge or washer.
Why is my faucet leaking in the first place?
Because a small internal part wore out — and usually one of four things caused it: age, hard water, grit, or a bad installation. Rubber washers and O-rings compress and harden over years of use until they no longer seal. Hard water leaves mineral scale that scratches ceramic discs and stops cartridges from seating fully. Tiny bits of sediment from the pipes score the seals. And an over-tightened or crooked install stresses parts until they fail early.
Here’s the useful part: the type of faucet tells you which part is most likely to blame. There are four common valve types, and each fails in a signature way.
| Faucet valve type | How to spot it | Most common leak cause | The fix |
|---|---|---|---|
| Cartridge | Single or double handle that moves smoothly up/down | Worn or scaled cartridge | Replace the cartridge (~$15–$40) |
| Compression | Two handles you screw down tight to stop flow | Flattened rubber seat washer | Replace washer + O-ring (~$5) |
| Ball valve | Single handle over a dome-shaped cap (common in kitchens) | Worn springs/seats or ball | Replace ball-valve kit (~$15–$25) |
| Ceramic disc | Single lever, very smooth, premium feel | Mineral buildup on the discs | Clean or replace disc cartridge (~$20–$50) |
Most modern faucets you’ll buy today — including the ones we stock at avitashome — use cartridge or ceramic disc valves, because they last longer and resist scale better than old rubber-washer compression valves. If your faucet is more than 15 years old and uses two tight-turning handles, you’ve likely got a compression valve and a $5 washer to swap.
Can I fix a leaky faucet myself, or do I need a plumber?
You can almost certainly do it yourself. Replacing a cartridge, washer, or O-ring is a beginner-level job that needs about 30 minutes and basic hand tools — no plumbing license, no torch, no experience. The only time to call a pro is if the leak is coming from inside the wall, from a cracked faucet body, or from supply pipes you can’t shut off. Those are rare.
Here’s roughly what the DIY job looks like, start to finish:
- Shut off the water. Turn the two valves under the sink clockwise until they stop. Open the faucet to release pressure and confirm the water’s off.
- Plug the drain. So no small screws or clips disappear down it.
- Remove the handle. Usually one set screw (a small hex/Allen screw) hidden under a decorative cap on the handle.
- Pull the worn part. Unthread the retaining nut, then remove the cartridge/washer/O-ring. Take it to the store or match the model number so you buy the exact replacement.
- Install the new part. Seat it the same way the old one came out (orientation matters on cartridges — note the notch).
- Reassemble and test. Turn the water back on slowly and check for drips.
The single biggest DIY mistake is buying a generic part instead of the exact one for your faucet’s brand and model. Cartridges especially are not universal. If you have a Delta, follow a Delta cartridge replacement guide; for a standard bathroom faucet, this walkthrough on replacing a bathroom faucet cartridge yourself covers the exact steps and tools. Matching the part is 90% of the battle.
What tools do I need to fix a leaking faucet?
Very few. Most repairs need only an adjustable wrench, a set of hex/Allen keys, a flat and Phillips screwdriver, and some plumber’s grease for the O-rings. For stubborn cartridges you may want needle-nose pliers or a cartridge puller (often included with the replacement cartridge). That’s genuinely the whole kit for a standard drip fix — under $30 in tools you’ll reuse for years.
How much does it cost to fix a leaky faucet — DIY vs. hiring out?
DIY costs $5–$50 in parts. Hiring a plumber runs $125–$350 depending on your area and the repair. That gap is exactly why “fix leaky faucet” is one of the most-searched home-repair phrases — the job is cheap and easy enough that most people would rather learn it than pay for it.
| Repair path | Typical cost | Time | Best for |
|---|---|---|---|
| DIY washer/O-ring swap | $5–$15 | 20–30 min | Older two-handle compression faucets |
| DIY cartridge replacement | $15–$50 | 30–40 min | Modern single-handle faucets |
| Plumber service call | $125–$350 | 1–2 hrs (incl. travel) | In-wall leaks, cracked body, no shut-off |
| Full faucet replacement | $80–$400+ parts | 1–2 hrs | Corroded body, or you want an upgrade anyway |
One honest note: if your faucet is old, corroded, and you’ve already been eyeing an upgrade, sometimes the smarter move is to replace the whole fixture rather than nurse an aging valve. A leak is a fine excuse to switch to a modern cartridge-based model that’ll go years without a drip.
Does a small drip really matter, or can I ignore it?
It matters more than it looks. A faucet dripping once per second wastes roughly 3,000 gallons a year — enough to fill a small pool — and that shows up on your water bill. Worse, a slow leak around the base or under the sink can rot cabinetry, warp countertops, and breed mold long before you notice standing water. Fixing a drip early is a $10 job; ignoring it can become a $1,000 water-damage job.
There’s also the wear factor: a leaking valve is a failing valve, and a failing valve often gets harder to turn and eventually seizes. Fixing it while the surrounding parts are still healthy is far easier than waiting until the handle strips or the stem corrodes into the body.
What if fixing the faucet doesn’t stop the problem?
Then the leak is probably not in the part you replaced — and there are two usual culprits: weak or uneven water flow that mimics a leak, or a clogged aerator dribbling instead of the valve. If you replaced the cartridge and still see trickling or spitting at the spout, the issue may be the aerator, not the valve. A clogged aerator can make a healthy faucet look broken.
Before you assume the worst, check the aerator — the little screw-on screen at the tip of the spout. If it’s caked with mineral scale, water sputters and dribbles. Our guide on what to do when your sink aerator is clogged walks through cleaning or replacing it in a few minutes, and it’s a common reason a “leak fix” doesn’t seem to work — you fixed the valve, but the real symptom was the aerator all along.
How do I keep my faucet from leaking again?
Cut down on the two things that kill seals fastest: mineral scale and grit. Soft water, clean aerators, and quality parts are what keep a faucet drip-free for a decade instead of a couple of years. A few habits make a real difference:
- Descale the aerator every few months if you have hard water — soak it in white vinegar.
- Don’t over-tighten handles. Cranking a handle “extra hard” to stop a drip just destroys the seat faster.
- Buy quality faucets with ceramic disc valves — they shrug off scale and grit far better than rubber washers.
- Grease O-rings with plumber’s grease when you reassemble, so they seat cleanly and don’t tear.
When it’s time to upgrade rather than repair, choosing a well-built fixture up front saves you future headaches. If you want to understand what actually separates a durable faucet from a throwaway one, our breakdown of the best quality faucet brands and how to tell a good one apart is a good place to start before you buy.
FAQ
What is the most common cause of a leaky faucet?
A worn cartridge or a flattened rubber washer inside the valve. These are the shut-off seals, and they naturally degrade over years of use or get damaged by hard-water scale. Replacing that one part fixes the vast majority of faucet drips.
Is fixing a leaky faucet hard for a beginner?
No. It’s one of the most beginner-friendly home repairs — typically 20–40 minutes with an adjustable wrench, a screwdriver, and a hex key. The trickiest part is buying the exact replacement cartridge or washer for your faucet’s brand and model, not the mechanical work itself.
Should I turn off the water before fixing a faucet?
Always. Turn the two shut-off valves under the sink clockwise until they stop, then open the faucet to release leftover pressure and confirm the water is off. Skipping this step means a face-full of pressurized water the moment you loosen the valve.
Why is my faucet still dripping after I replaced the cartridge?
Usually one of three things: the new cartridge wasn’t seated in the correct orientation, an O-ring got pinched or left out, or the real problem was a clogged aerator rather than the valve. Recheck the cartridge alignment first, then inspect the aerator.
Is it cheaper to fix a faucet or replace it?
Fixing is far cheaper — $5–$50 in parts versus $80–$400+ for a new faucet. Repair almost always wins unless the faucet body is cracked or badly corroded, or you were planning to upgrade the fixture anyway.
How much water does a leaky faucet waste?
A faucet dripping once per second wastes about 3,000 gallons a year. Beyond the water bill, a slow hidden leak under the sink can cause mold and rot that costs far more than the original repair.
About the author: This guide was written by the avitashome fixtures team, drawing on hands-on testing of hundreds of kitchen and bathroom faucets across cartridge, ceramic disc, ball, and compression valve designs. Why trust avitashome: we’re a dedicated faucet and bathroom-fixtures retailer, and every faucet we sell is pressure-tested and built to meet standard low-lead (NSF/ANSI 372) and flow-rate requirements, with valve components backed by manufacturer warranties — many ceramic disc cartridges carry limited lifetime coverage. We recommend repairs and products based on how the parts actually hold up, not on what’s easiest to sell.