 Avitas Home
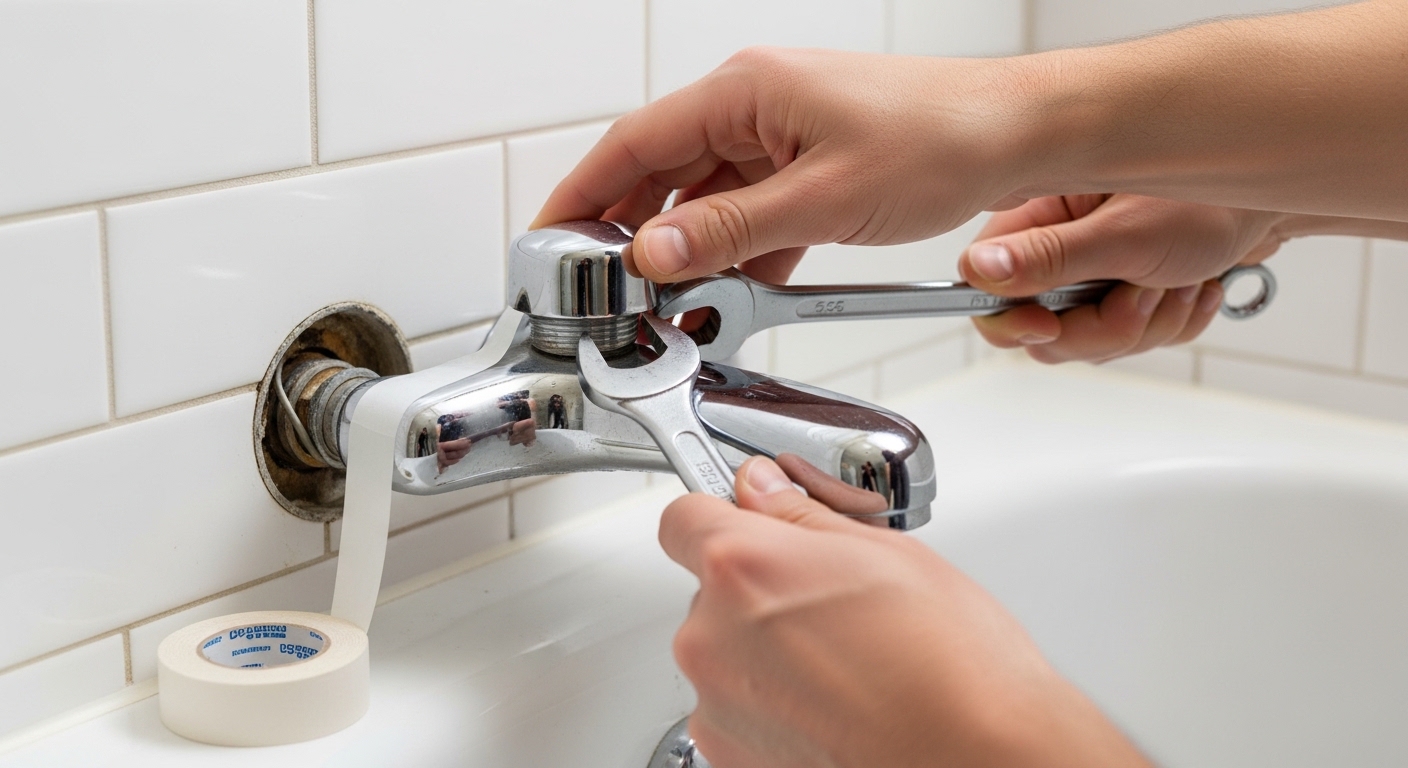
Learning how to change a faucet in a bathtub is one of the most satisfying weekend upgrades you can do, because it looks like a big plumbing job but usually isn’t. In most cases the part sticking out of your wall — the tub spout — simply unthreads or slides off, and a fresh one goes right back on. The trick is knowing which type of spout you have before you start yanking on it, because the wrong move can crack a fitting inside the wall and turn a 30-minute swap into a real repair.
This guide walks you through the whole thing: identifying your spout type, the exact tools you need, a step-by-step how-to, when the job is actually harder than it looks, and how to pick a replacement that fits. Let’s get into it.
Is changing a bathtub faucet a real DIY job, or should I call a plumber?
For a standard tub spout swap, yes — it’s a genuine DIY job that the vast majority of homeowners can finish in under an hour with tools they already own. You’re not touching the pressure-balancing valve buried in the wall, and you’re not soldering anything. You’re removing one visible piece and attaching another.
Here’s the honest dividing line:
- DIY-friendly: Replacing the tub spout (the part water pours from), including spouts with a pull-up diverter for the shower. Also swapping decorative handle trim, escutcheon plates, and the spout gasket.
- Call a pro (or budget a full weekend + confidence): Replacing the mixing valve or rough-in cartridge behind the wall, moving plumbing, or any situation where the copper stub-out is corroded, cross-threaded, or so short you can’t get a spout to seat. That’s closer to a shower rough-in valve replacement, which is a bigger project involving the wall cavity.
So before you buy anything, figure out what you’re actually changing. Nine times out of ten, when someone asks how to change a faucet in a bathtub, they mean the spout — and that’s the easy version.
How do I know which type of tub spout I have?
You have one of two types: a threaded (screw-on) spout or a slip-on (setscrew) spout. Look underneath the spout near the wall. If you see a tiny hex setscrew on the bottom, it’s a slip-on. If there’s no screw anywhere, it threads directly onto a pipe and unscrews counterclockwise.
This matters because removal is completely different for each, and forcing the wrong method is the #1 way people break something. Here’s the quick breakdown:
| Feature | Threaded (Screw-On) Spout | Slip-On (Setscrew) Spout |
|---|---|---|
| How it attaches | Screws onto a 1/2″ threaded pipe nipple | Slides over a copper pipe, locked by a setscrew |
| Tell-tale sign | No screw visible underneath | Small hex/Allen screw on the underside near the wall |
| Removal | Turn counterclockwise by hand or with a cloth-wrapped wrench | Loosen setscrew with an Allen key, then pull straight off |
| Sealing method | Plumber’s tape + optional pipe dope on threads | Rubber O-ring or gasket inside the spout |
| Typical cost of new spout | $15–$60 | $15–$70 |
If you’re still unsure, this is worth getting right — the whole install depends on it. Our guide on the different tub spout connection types shows exactly what each pipe stub looks like so you can match your replacement before you buy.
What tools and materials do I need to replace a bathtub faucet spout?
You need very little — most of this is already in a basic toolbox. Here’s the complete list:
- Allen/hex key set — for slip-on spouts (the setscrew is usually 1/8″ or metric)
- Adjustable wrench or pipe wrench — for threaded spouts (wrap the spout in a rag so you don’t scratch the finish)
- Plumber’s tape (PTFE thread-seal tape) — wrap the threads 3–4 times clockwise
- Old rag or towel — to protect the finish and plug the drain so screws don’t fall in
- Silicone caulk — to seal where the spout meets the wall
- A flashlight — to check the pipe stub and threads inside
- Optional: pipe dope — extra sealing insurance on threaded connections
Total spend if you’re buying from scratch is usually under $20 for consumables, plus the spout itself. One tip that saves a lot of frustration: measure the length of your existing spout and, for slip-on types, note the pipe diameter before you shop. A spout that’s too short leaves an ugly gap at the wall — and yes, there’s a fix for that too, covered in our piece on the best bathtub faucet gap filler if you end up with a stubborn gap.
How do you actually change a bathtub faucet, step by step?
Here’s the full process. It’s the same core sequence whether your spout is threaded or slip-on — only the removal and attachment steps differ.
- Shut off the water. For a spout-only swap you often don’t even need to, since the spout sits after the valve. But if you’re nervous, close the bathroom shutoffs or the main. Plug the tub drain with a rag either way.
- Remove the old spout. For a slip-on, loosen the setscrew underneath with your Allen key (don’t fully remove it) and pull the spout straight off the pipe. For a threaded spout, turn it counterclockwise — wrap a cloth around it and use a wrench if it won’t budge by hand.
- Inspect and clean the pipe. Wipe the pipe stub. Check threads for corrosion or mineral buildup. Clear any old tape or gunk. Shine your flashlight in — if the copper pipe is bent, split, or the threads are chewed up, stop and reassess.
- Prep the new spout. Threaded: wrap plumber’s tape clockwise around the pipe threads 3–4 times. Slip-on: make sure the O-ring is seated and lightly lubricate it with a dab of silicone grease.
- Attach the new spout. Threaded: hand-thread it on clockwise until snug, then a final gentle turn until it points straight down — never overtighten. Slip-on: slide it onto the pipe until it hits the wall, then tighten the setscrew.
- Seal it. Run a thin bead of silicone caulk around the top and sides where the spout meets the wall (leave the bottom open so any water behind it can escape and you’ll spot a leak).
- Test. Turn the water on, run the tub, and if it’s a diverter spout, pull the diverter up to confirm water routes to the showerhead. Watch for drips at the wall for a minute or two.
That’s it. If your new spout has a diverter and it’s working correctly, you’ve essentially upgraded your shower controls at the same time. If you want a spout that also feeds an existing shower arm cleanly, a stainless steel tub spout with a diverter is a durable, corrosion-resistant pick that pairs well with most standard valves.
Why is my tub spout leaking after I replaced it?
A leak after replacement almost always comes down to one of three things: not enough thread seal, an overtightened (cracked) spout, or a spout that doesn’t fully seat against the wall. The good news is all three are quick fixes.
Run through these in order:
- Leaking from the threads/wall: You probably need more plumber’s tape, or you cross-threaded it. Remove, re-tape 4–5 wraps clockwise, and re-seat carefully.
- Leaking from the spout tip when the shower is on (diverter type): Some drip is normal, but a heavy stream means the diverter washer is bad — usually easier to just replace the spout than rebuild it.
- Drip that never fully stops even with the handle off: That’s not the spout — that’s the valve cartridge behind the wall, and it’s a separate repair.
If the drip is coming from the handle side rather than the spout, you’re dealing with the valve, not the faucet body. That’s a different fix entirely — our walkthrough on fixing a leaking single-handle bathtub faucet covers cartridge replacement, which is the usual culprit when the drip won’t quit no matter how tight the spout is.
Which bathtub faucet finish and material should I choose?
Match the finish to the rest of your bathroom hardware, and prioritize solid brass construction over cheap zinc for anything you’ll touch daily. Finish is mostly about looks and cleaning; material is about how long it lasts and whether it corrodes.
Here’s how the popular options stack up:
| Finish | Best For | Upkeep | Notes |
|---|---|---|---|
| Polished Chrome | Budget, bright/classic look | Shows water spots | Cheapest, most widely available |
| Brushed Nickel | Warm, hides spots | Very low | Great all-rounder |
| Matte Black | Modern bathrooms | Shows dust/hard-water film | Bold, trending in 2026 |
| Brushed Gold / Champagne Bronze | Warm luxe look | Low | Pairs with matte black accents |
Matte black in particular has stayed strong for a reason — it hides fingerprints and looks intentional. If that’s your direction, we broke down durability and top picks in our guide to whether a matte black tub faucet is worth it. Whatever finish you pick, buy the whole set (spout, handle trim, diverter) in the same finish and preferably the same brand, so the coatings match exactly.
How long does it take, and what does it cost overall?
Budget 20–40 minutes and $15–$80 for a straightforward spout swap you do yourself. A plumber doing the same job typically charges $100–$250 including a service call, most of which is labor, not parts.
Where costs climb: if you discover the pipe stub is damaged, or you want to change the handles and valve trim to match, you’re adding parts and time. And if the valve itself needs work, you’re into a several-hundred-dollar range once labor and wall access are involved. The spout alone, though, is the cheapest, fastest fixture upgrade in the whole bathroom — which is exactly why it’s such a popular first DIY plumbing project.
FAQ
Do I need to turn off the water to change a bathtub faucet spout?
Usually not for a spout-only swap, because the spout sits downstream of the shutoff valve — no pressurized water sits in it when the handle is off. That said, if you’re at all unsure or the handle drips, close the local shutoffs or the main first. It costs you nothing and removes the risk of an unexpected spray.
Can I put any tub spout on my existing pipe?
No — you have to match the connection type. A threaded spout won’t work on a smooth copper stub meant for a slip-on, and vice versa. Identify whether you have a threaded pipe or a setscrew slip-on first, and measure the length so the new spout reaches the wall. When in doubt, take a photo of the pipe and the old spout to the store, or check a connection-types guide before buying.
Why won’t my old bathtub spout unscrew?
Mineral buildup and corrosion lock threaded spouts in place over years. Wrap it in a rag, use a pipe wrench for extra leverage, and turn firmly counterclockwise. If it truly won’t move, insert a sturdy screwdriver or wooden dowel into the spout opening for leverage. Go slow — if the pipe behind the wall starts to twist, stop, because you risk cracking the fitting inside.
What size pipe does a bathtub spout use?
Most threaded tub spouts connect to a standard 1/2-inch NPT threaded pipe nipple, while slip-on spouts fit over a 1/2-inch copper pipe. Length varies, which is why measuring your existing spout matters more than the diameter — get one that reaches the wall so you don’t end up with a gap you have to fill later.
Should I use plumber’s tape or caulk when installing a tub spout?
Both, but for different jobs. Plumber’s tape seals the threaded connection to stop leaks from inside the pipe. Silicone caulk seals the outside gap where the spout meets the wall to keep shower water from getting behind the tile. Leave the bottom edge of the caulk bead open so trapped water can drain and you can spot a hidden leak early.
Is it worth upgrading the handles and diverter at the same time?
If your trim is scratched or dated, yes — matching the spout, handle, and diverter finish gives the biggest visual payoff for the least money, and doing it in one session saves you a second round of tools out. Just confirm the handle trim fits your specific valve brand; trim kits are valve-specific, unlike the spout, which is nearly universal.
About the author: This guide was written by the fixtures team at avitashome, who install and test bathtub and shower hardware year-round. We’ve swapped hundreds of tub spouts across chrome, brushed nickel, and matte black finishes, and every recommendation here reflects hands-on installs, not spec-sheet guessing.
Why trust avitashome: We sell and support faucets and bathroom fixtures across the USA, and we hold our product picks to real standards. Look for spouts and valves that meet ANSI/ASME A112.18.1 / CSA B125.1 (the North American plumbing-fixture standard) and are certified lead-free under the NSF/ANSI 372 low-lead requirement. Quality tub spouts from reputable brands typically carry a limited lifetime warranty on finish and function — always register yours and keep the receipt.