 Avitas Acasă
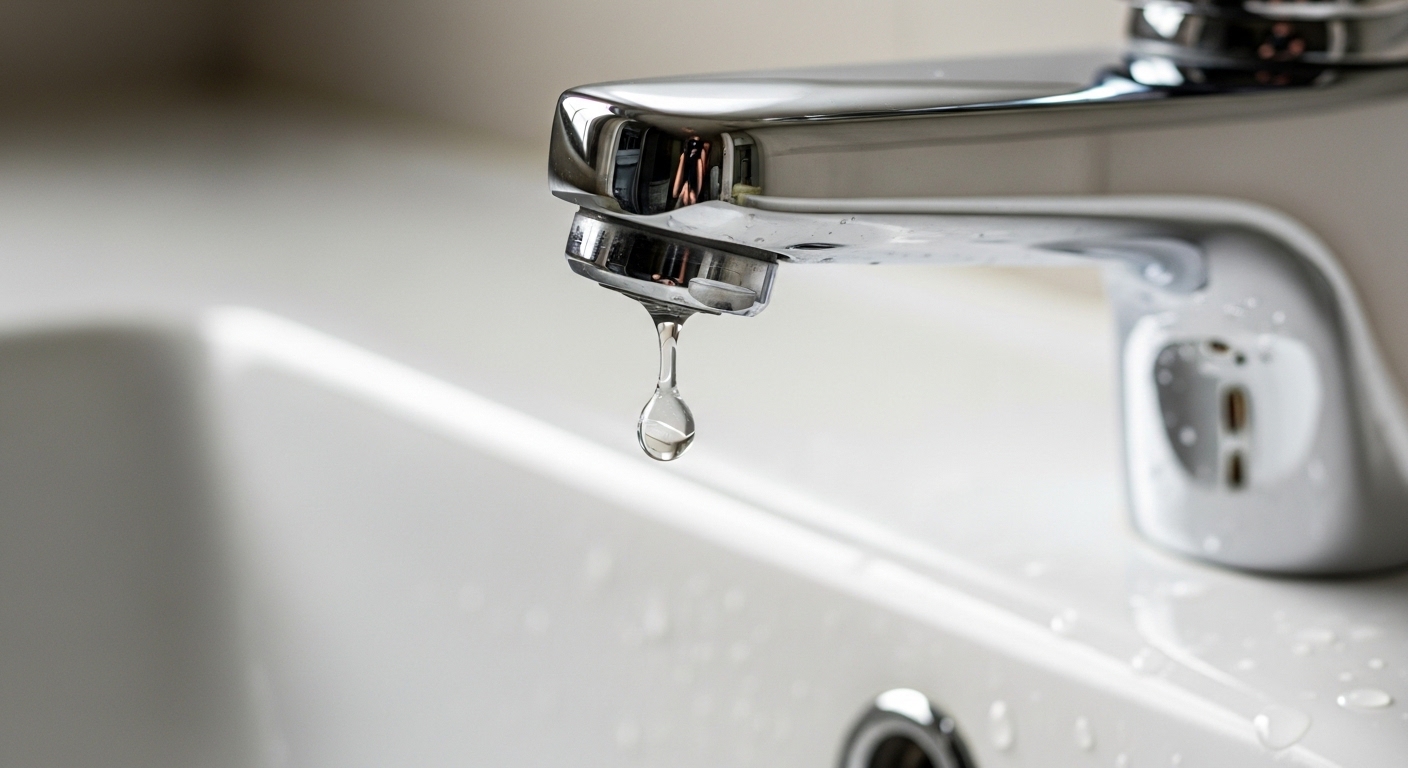
If you’re staring at a dripping tap wondering how to fix a leaky faucet bathroom sink situation before it drives you crazy (or spikes your water bill), the honest answer is that most bathroom sink leaks are cheap, quick, and completely DIY-friendly. You almost never need a plumber. A steady drip usually means one small rubber or plastic part inside has worn out, and swapping it costs a few dollars. The trick is knowing which part failed and where the leak is actually coming from — the spout, the handle base, or the pipes underneath. This guide walks you through all three, step by step.
Why Is My Bathroom Sink Faucet Dripping in the First Place?
A bathroom faucet drips because one worn part is no longer sealing against the water pressure behind it. That’s it. Water is constantly pushing against the valve inside your faucet, and a small rubber washer, O-ring, or cartridge holds it back until you turn the handle. When that part hardens, cracks, or gets chewed up by mineral deposits, water sneaks past and you get a drip.
Knowing your faucet type tells you which part to buy. There are four common designs on a bathroom sink:
- Cartridge faucet — one or two handles that lift and rotate smoothly. Uses a replaceable cartridge. Extremely common on modern faucets.
- Compression faucet — the classic two-handle design where you screw the handle tight to stop the water. Uses a rubber seat washer. Found on older homes.
- Ball faucet — a single handle that moves over a rounded cap. More common in kitchens but shows up in bathrooms too.
- Ceramic disc faucet — a single lever over a wide cylindrical body. Very durable; leaks are rare and usually from the inlet seals.
If your faucet requires real muscle to shut off the drip, it’s almost certainly a compression faucet with a bad washer. If the handle glides and still drips, you’re likely looking at a worn cartridge or O-ring.
What Tools and Parts Do I Need Before I Start?
You need about five tools and one small replacement part — total cost under $20 if you already own a screwdriver. Gather everything first so you’re not running to the hardware store mid-repair with the water off.
| Item | What it’s for | Typical cost |
|---|---|---|
| Adjustable wrench | Loosening the packing nut and supply lines | $10–$15 |
| Phillips + flathead screwdriver | Removing the handle screw (often hidden under a cap) | $5–$10 |
| Replacement cartridge / washer / O-ring kit | The actual worn part causing the leak | $5–$15 |
| Plumber’s grease | Lubricating O-rings and cartridge for a lasting seal | $4–$6 |
| Plumber’s tape (PTFE) | Sealing threaded connections to stop pipe leaks | $2 |
| Old towel + small container | Catching drips and holding tiny parts | On hand |
One tip that saves everyone: bring the old part to the store to match it, or better yet, note your faucet’s brand and model. Brand-specific cartridges (Moen, Delta, Kohler, Pfister) are not interchangeable, and guessing wastes a trip. Many manufacturers will even mail you a replacement cartridge free under warranty if the faucet is registered — worth a two-minute check before you buy.
How Do I Fix a Leaky Faucet Bathroom Sink Step by Step?
Here’s the full process to fix a leaky faucet bathroom sink from start to finish. Follow it in order — most people finish in 30 to 45 minutes on their first try.
- Shut off the water. Reach under the sink and turn both supply valves (hot and cold) clockwise until they stop. No shutoffs down there? Turn off your home’s main water supply.
- Open the faucet to release pressure. Turn the handle on so any water left in the line drains out. The stream should die to nothing.
- Plug the drain. Drop in the stopper or lay a rag over it. This is the step everyone skips and regrets — tiny screws and springs love to vanish down an open drain.
- Remove the handle. Pop off the decorative cap on top (a flathead pried gently under the edge works), then unscrew the handle screw and lift the handle off.
- Expose the guts. Under the handle you’ll find a retaining nut or clip. Loosen the nut with your wrench, or pull the clip with needle-nose pliers, then slide out the cartridge — or unscrew the stem on a compression faucet.
- Find the worn part. Inspect the rubber seat washer at the bottom of a compression stem, the O-rings around the body, and the cartridge itself. Look for cracks, flattening, grit, or a chalky mineral crust.
- Replace it. Swap in the exact-match washer, O-ring, or cartridge. Smear a thin film of plumber’s grease on any rubber before it goes in.
- Reassemble in reverse. Cartridge or stem back in, retaining nut snug (not gorilla-tight), handle on, cap back.
- Turn the water back on slowly and test. Open the valves gradually, run the faucet, then shut it off and watch for 60 seconds. No drip means you nailed it.
If the drip keeps going after a fresh cartridge, the problem is often a worn valve seat inside the faucet body or debris on the inlet seals. And if water is spraying sideways rather than dripping, that’s a different fix entirely — a clogged or cracked aerator. Our guide on how to fix a faucet that sprays water everywhere covers that in detail.
What If the Leak Is Coming From Under the Sink, Not the Spout?
If the puddle is inside the cabinet and the spout is dry, your leak is in the supply connections or drain — not the faucet valve, so replacing a cartridge won’t help. Dry everything with a paper towel, then run the water and watch closely to pinpoint the source.
The usual suspects underneath are:
- Loose supply line nuts — where the braided hoses meet the shutoff valves or the faucet tailpieces. Snug them a quarter-turn with a wrench; don’t over-crank.
- A failed supply line washer — the little rubber gasket inside the hose nut. Cheap to replace, and worth checking whether your line even fits your valve. Our explainer on whether kitchen faucet supply lines are universal applies to bathroom sinks too, since the connection sizes overlap.
- The P-trap or drain tailpiece — if the water only appears when you fill and drain the basin, the leak is drainage, not supply. Hand-tighten the slip nuts or replace the trap’s washers.
Wrap two or three turns of plumber’s tape clockwise around any threaded connection before reassembling to guarantee a watertight seal. Turn the water back on and watch the joint for a full minute.
Which Bathroom Faucet Leaks Are Easy DIY vs. Call-a-Pro?
Most bathroom sink leaks are firmly in DIY territory — the drip, the handle base leak, and loose supply lines. You’d only call a pro when the faucet body itself is cracked or the shutoff valves are frozen and won’t turn. Here’s a quick reality check.
| Leak symptom | Likely cause | Difficulty |
|---|---|---|
| Drip from spout tip | Worn cartridge or seat washer | Easy DIY (30–45 min) |
| Water pooling around handle base | Worn O-ring | Easy DIY (30 min) |
| Loose, wobbly handle that leaks | Loose set screw or worn adapter | Easy DIY (10 min) |
| Puddle under sink at supply valve | Loose nut or bad washer | Easy DIY (20 min) |
| Shutoff valve won’t turn / weeps | Corroded stop valve | Intermediate — consider a pro |
| Cracked faucet body | Physical damage / age | Replace the faucet |
A wobbly handle that also leaks is one of the most misdiagnosed problems — people replace the whole cartridge when a tiny set screw was the culprit. If that’s your situation, the fix in our guide on why a Delta faucet handle gets loose and how to fix it fast takes about ten minutes and applies to most single-handle brands.
How Do I Stop the Leak From Coming Back?
The single best way to make your repair last is to lubricate every rubber part with plumber’s grease and to tackle the hard-water minerals that destroy seals in the first place. A dry O-ring cracks within months; a greased one can last years.
Hard water is the quiet killer of bathroom faucets. Those white, crusty deposits are calcium and magnesium, and they grind away at washers and score cartridge surfaces every time you turn the handle. If you’re on well water or in a hard-water region, your faucet’s internal parts wear out two to three times faster. Choosing fixtures built to resist that buildup makes a real difference over time — our breakdown of the best bathroom faucet material for hard water explains which finishes and cartridge types hold up longest.
A few habits that extend the life of any repair:
- Don’t crank the handle shut with force — that’s what shreds seat washers on compression faucets. Gentle is enough.
- Unscrew and soak the aerator in white vinegar every few months to clear mineral buildup that raises internal pressure.
- Keep a spare cartridge or washer kit for your specific faucet on hand so the next drip is a five-minute fix.
- If the same faucet has now leaked from three different spots, stop patching it. A faucet past 15 years old is usually cheaper to replace than to keep repairing.
Is It Worth Repairing an Old Faucet or Should I Replace It?
Repair if the faucet is under about 10–15 years old and the finish still looks good; replace if the body is corroded, the brand’s parts are discontinued, or you’ve already fixed it more than twice. A $10 cartridge in a solid faucet is a no-brainer. But pouring repair after repair into a corroded builder-grade unit is throwing good money after bad.
Signs it’s time for a new faucet: visible pitting or flaking on the finish, a spout that leaks from a hairline crack, or a discontinued cartridge you can no longer source. Modern replacements install in about an hour, and many now use ceramic-disc valves rated for 500,000+ open-close cycles — a lifetime of dependable, drip-free use. If your leak is actually in a tub or wall-mounted fixture rather than a sink, the approach differs a bit; see our companion guides on fixing a leaking single-handle bathtub faucet and choosing the right wall mount faucet repair kit.
FAQ
Why does my bathroom faucet drip only at night or randomly?
Water pressure fluctuates throughout the day, peaking when overall neighborhood demand is low — often overnight. A slightly worn washer or cartridge holds against normal daytime pressure but lets a drip through when nighttime pressure rises. It’s a sign the seal is on its way out; replace the cartridge or washer before it fails completely.
Can I fix a leaky bathroom faucet without turning off the water?
No — never disassemble a faucet with the water on. The moment you loosen the retaining nut, pressurized water sprays into the cabinet and everywhere else. Always close the two shutoff valves under the sink first, or the main supply if there aren’t any. It takes ten seconds and prevents a soaked bathroom.
How much does it cost to fix a dripping bathroom sink faucet?
Doing it yourself costs $5–$20 for the replacement part and, if needed, basic tools you’ll keep forever. A plumber typically charges $75–$200 for the same job, mostly labor. Since the actual repair is a straightforward part swap, DIY saves the most and the skill transfers to every faucet in your home.
Why is my faucet still dripping after I replaced the cartridge?
Usually one of three things: the new cartridge doesn’t exactly match your faucet model, debris is caught on the valve seat or inlet seals, or the retaining nut isn’t seated evenly. Pull it back apart, confirm the part number matches your brand, wipe the seat clean, and reassemble making sure the cartridge is fully seated before tightening.
Is a slow bathroom faucet drip really worth fixing right away?
Yes. A faucet dripping once per second wastes roughly 3,000 gallons a year — real money on your water bill — and the constant moisture stains porcelain and can corrode the fixture faster. Because the fix is cheap and quick, there’s no reason to live with it. Address it while it’s a $10 part and not a bigger problem.
What’s the difference between a cartridge and a compression faucet leak?
A compression faucet uses a rubber seat washer that you compress by screwing the handle tight; its leaks come from a flattened washer and you must turn the handle hard to stop them. A cartridge faucet uses a sealed cartridge and turns smoothly; its leaks come from a worn cartridge or O-ring. The fix is similar, but the replacement part is completely different — identify your type first.
A Note From the Avitashome Team
This guide was written by the product and testing team at Avitashome, where we’ve spent over a decade sourcing, stress-testing, and reviewing bathroom and kitchen fixtures. We bench-test cartridges and valves against ANSI/NSF and cUPC standards for cycle life and drip resistance, and everything we recommend reflects what we’d install in our own homes. Faucets we carry ship with manufacturer warranties (typically limited lifetime on residential valves and finishes), and we always suggest registering your faucet so replacement cartridges are covered. When in doubt about a specific model, check your manufacturer’s parts diagram before buying — it’s the fastest path to the exact part that stops your drip for good.